
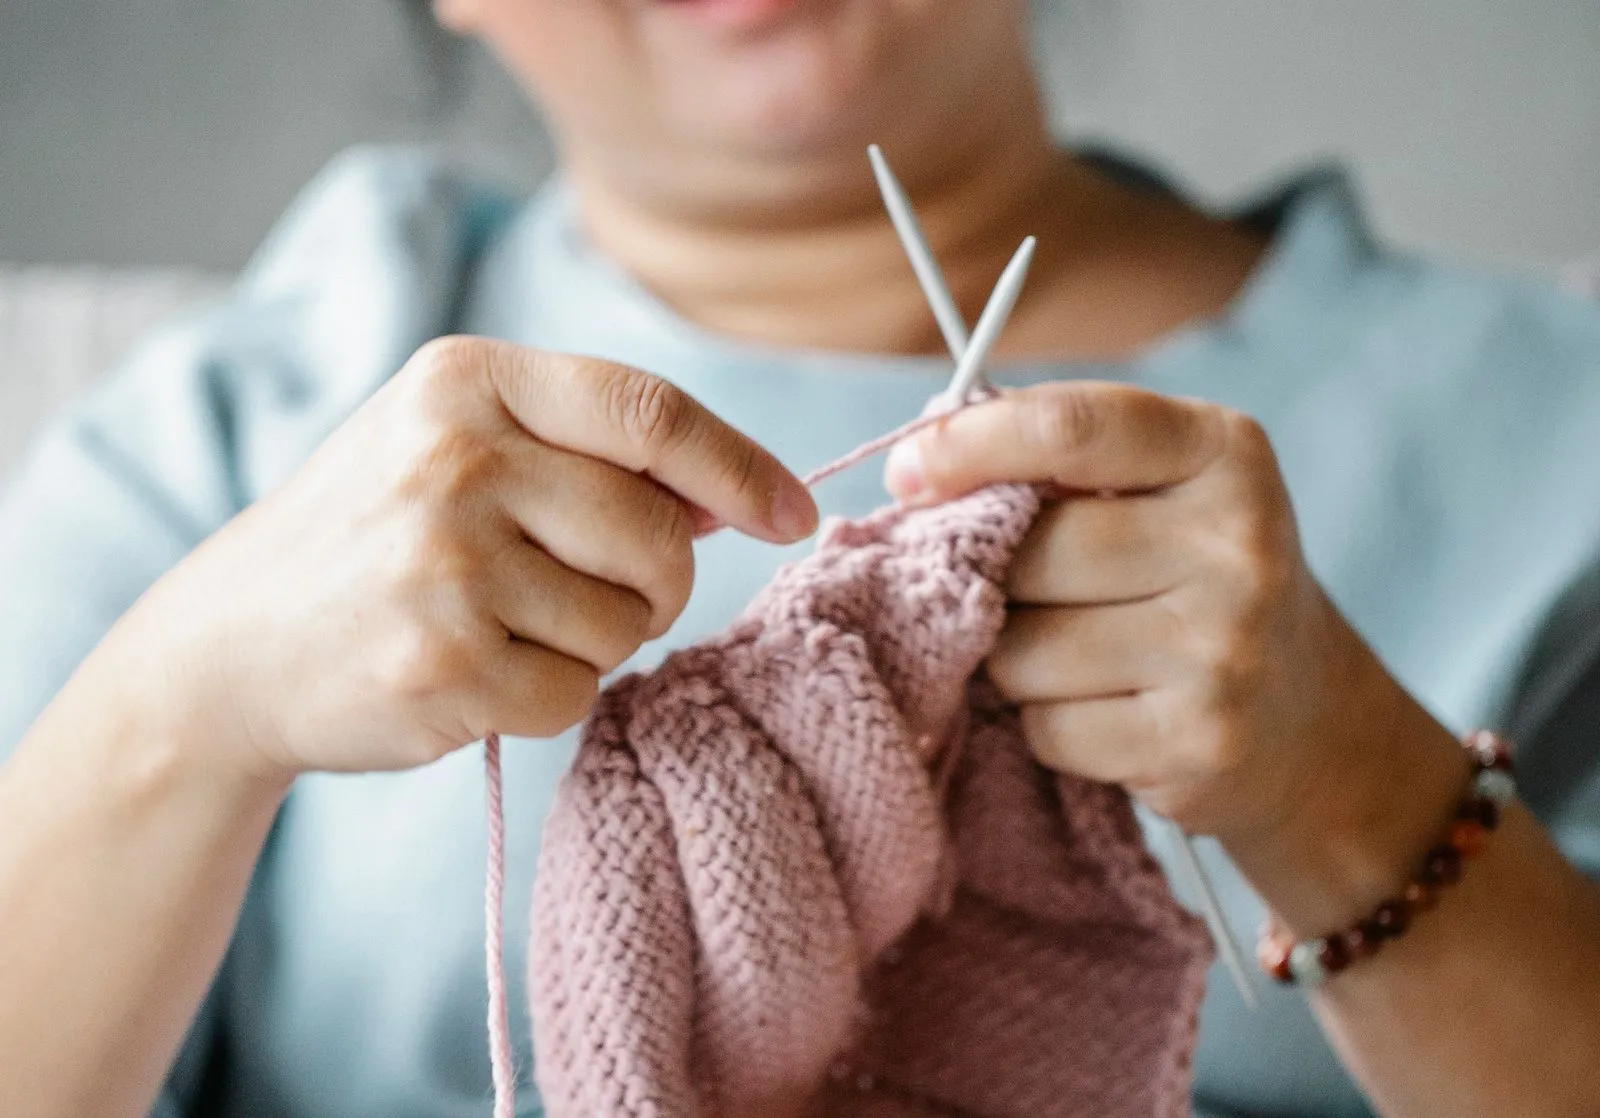
A few basic stitches can take you from a tangle of yarn to your first useful project. Start with the knit stitch, add the purl stitch, then practice switching between them. These simple movements form the backbone of many knitting patterns and teach you to manage your yarn, needles, and tension. You do not need perfect rows to make progress. Repeating the basics helps your hands learn the motions and makes each new project feel more approachable.
Start With the Knit Stitch
The knit stitch is a natural first step because it uses one repeated motion across a row. With the yarn held behind your work, insert the right needle into the front of the next loop, wrap the yarn around the needle, and pull a new loop through. Slide the old loop off the left needle. Work slowly at first, checking that each stitch stays on the needle without being pulled too tight.
Rows made entirely of knit stitches create garter stitch, a bumpy fabric that lies flat and is easy to recognize. It is useful for practice squares, scarves, and sturdy edges. Knit a small swatch and notice how your stitches look on both sides. If the loops feel difficult to move, loosen your grip rather than forcing the needles. Comfortable hands help you keep practicing longer.
Add the Purl Stitch
The purl stitch makes a small bump on the side facing you and is the knit stitch’s close partner. Hold the yarn in front of the work, insert the right needle into the next loop from right to left, wrap the yarn, and draw a new loop through. Slide the old loop off. Keep the yarn in front while purling, then move it between the needle tips before knitting again.
A row of knit stitches followed by a row of purl stitches creates stockinette stitch, with smooth V shapes on one side and bumps on the other. This fabric appears in many garments and accessories, but its edges can curl. Swatching helps you spot that behavior before it surprises you in a project. Practice a few rows at a time, and use a stitch marker or row counter if it helps you keep track.
Combine Stitches for Texture
Alternating knit and purl stitches creates patterns without adding complicated techniques. In ribbing, you repeat a sequence such as knit two, purl two across a row, then work each stitch as it appears on the next row. The fabric forms raised columns and stretches easily, making ribbing handy for cuffs, hat brims, and necklines. Count the stitches in each repeat so the columns stay aligned.
Seed stitch is another beginner-friendly texture: alternate knit and purl stitches, then work a knit over each purl and a purl over each knit on the next row. The result has small, even bumps on both sides. These patterns train you to read the stitches in front of you rather than rely only on counting rows. That habit makes following written instructions easier.
Practice Without Pressure
Make a swatch before starting a larger project. Cast on a manageable number of stitches, work several rows, and check whether the fabric feels even. Look for dropped loops, accidental extra stitches, or tight edges. If you find a mistake, pause and identify the stitch where it happened. Learning to spot and fix small errors builds confidence faster than trying to hide every uneven spot.
Keep practice sessions short and focused. Spend one session knitting rows, another switching between knit and purl, then try a simple rib or seed-stitch sample. Use smooth, light-colored yarn so the loops are easier to see, and choose needles that feel comfortable in your hands. Save your samples with notes about the stitch pattern; they can become a handy reference when you start a new project.
Knit, purl, and their simple combinations give you the tools to understand many beginner patterns. Practice on small swatches, notice how each stitch behaves, and treat mistakes as useful clues. When you’re ready for guided practice, explore a beginner knitting class at Purl & Peak in Denver.